The 'outside-in' ceiling
Principle Two: Catch and store energy
Using corrugated iron as a ceiling lining is a bit unusual. We used it because: we like the effect, it's quick and easy to install, it can be reused or recycled, requires no painting and has a very long low maintenance life. It took two days to install, with three of us on the first day and four on the second. The sheets in the living room were 7.2m long and required props to help hold in place while it was being fixed.
Because there is no more room in the ceiling space I installed wiring for a future (possible) solar PV system - allowing the wiring to be concealed. The 2 x 4mm SDI cable was fitted into conduit to protect it from vermin, should they find their way into the ceiling (hope not). It would have been good to have made larger box beams (400mm instead of 300mm wide) to allow for larger air cavity.
Two layers of R2.5 polyester batts (the most we could fit) were installed into the ceiling cavity as we attached the corrugated iron ceiling. Each layer was fitted in a different direction so the there would be minimal gaps. I read that 5% gaps in insulation can result in a 50% reduction in performance, so it's important to fit them properly. Along with the foil we have a total of R6.0 insulation in the ceiling - well above the current standards for this climate. This will help store the energy of the sun that is captured in the thermal mass of the concrete slab and the future wood stove when we need it. It will also help keep excess heat out.
The final effect is pretty schmick, and bounces light around the room more evenly. The acoustics are better than I would have thought; sound does reflect off the ceiling but is absorbed into the wooden walls and heavy floor of the living space.
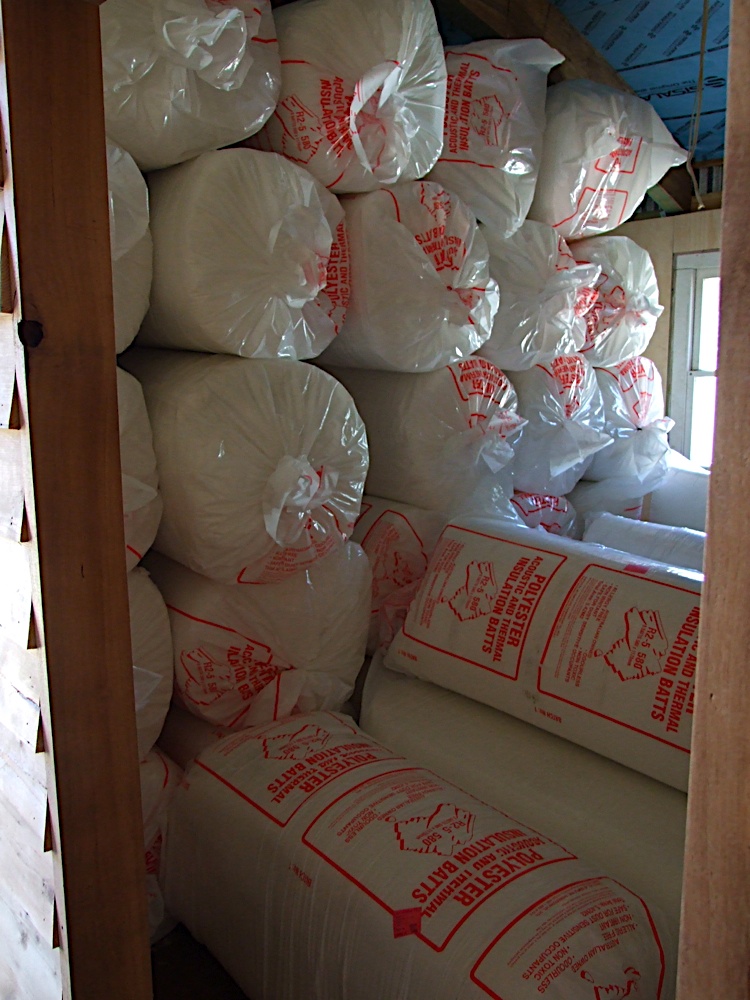
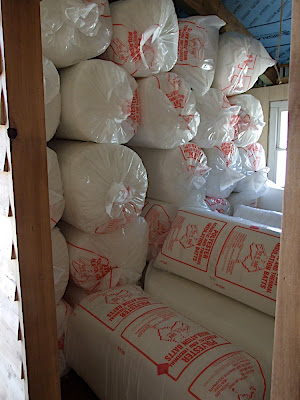
Polyester insulation. 35 bags used in the ceiling (except bathroom which is still under construction).

Installing insulation into the bedroom ceiling cavity as each galvanised iron sheet is fixed. Two layers of R2.5 batts that criss-cross each other to avoid gaps.
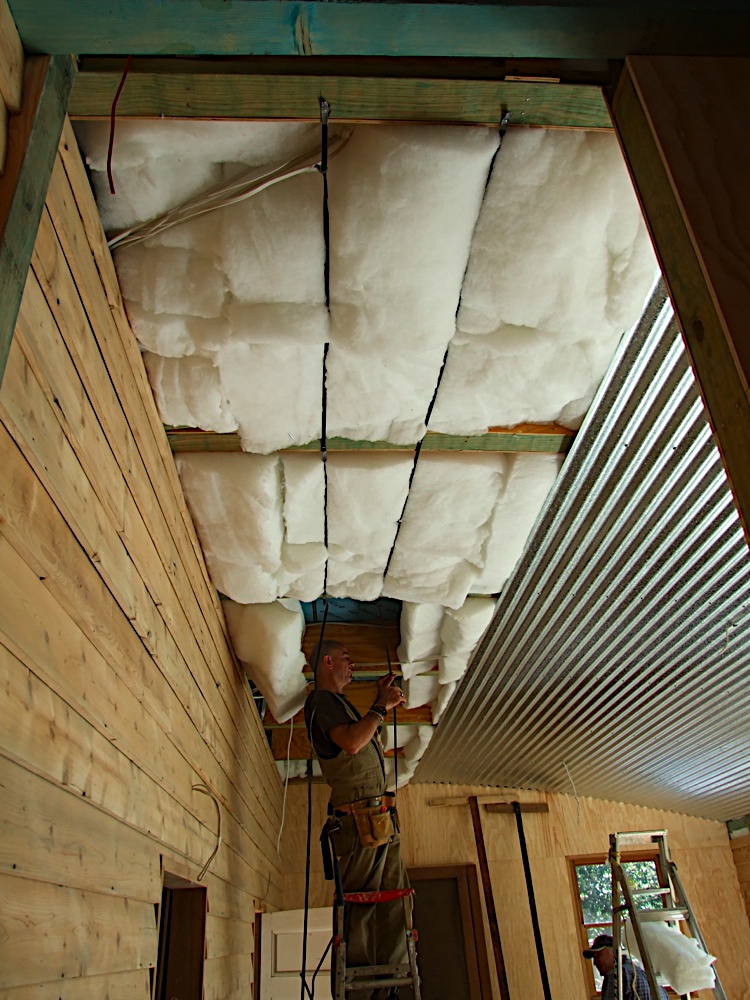
Dylan installing insulation into the living room ceiling cavity before last galvanised iron sheet is fixed. Packing tape used to hold up insulation batts. Props (in background) used to help hold up sheets while screwing into place.

Living room / kitchen ceiling. Sun-facing (north) windows to left.


Comments
thanks for the blog post that served as an inspiration for my upcoming reno.
I have few technical questions:
1/ how big is the space?
2/ which country is this space built in? as in what sort of climate?
3/ any issues with condensation happening?
I bought a sort of a warehouse and I am a bit concerned about the condensation issue especially in the wither times (where it rains a quite a bit here).
Anyway, thanks a lot for your post. Cheers, martin
1/ Interior floor space is about 100m2
2/ Built in Australia, Central Victoria (South East). Dry Temperate climate, low humidity. About 500-600mm rainfall p.a.
3/ No condensation at all on ceiling, but we do get some on the windows in winter.